








How to Set Up a Portable Pool in 20 Minutes (Step-by-Step Guide)
Setting up a Helyora above-ground pool takes about 20 minutes and requires no tools, construction work, or prior experience. In this guide, we’ll walk you through the entire process step by step: how to prepare and level the ground, how to inflate the pool walls correctly, and the most common mistakes we see (and how to avoid them all).
What are the easiest steps to set up a pop-up pool in less than an hour?
There are five steps: choose a firm, level surface; lay out a protective tarp; unfold the pool; inflate the walls using the included hand pump; and fill it with water, making sure everything stays straight. With a rigid-wall pool like Drop Stitch Actual assembly takes about 20 minutes. A tubular table with a metal frame is a whole different story: it takes hours to assemble the tubes, and you also have to place tiles under each leg to prevent it from sinking under the weight.
- Choose the location. A flat, firm, level surface: grass, artificial turf, a patio, concrete, or wood. Avoid areas with rocks, roots, or slopes.
- Protect the base. Spread out a protective tarp or blanket that is slightly larger than the base of the pool.
- Set up the pool. Take it out of the bag and unfold it with the valve on the side that's most comfortable for you.
- Inflate the wall. Using the included hand pump, inflate until the wall feels completely firm (between 10 and 20 PSI; it’s already firm at 10 PSI, so never exceed 20).
- Fill it with water. Start with 5–10 cm, check that the water is level with the edge, and if so, continue until it reaches the desired level.
And here’s an advantage you won’t find anywhere else: once it’s inflated and before you fill it with water, the pool is a rigid, lightweight unit that you can effortlessly move until it’s in the perfect spot—rotate it, adjust it, and position it just the way you like. With a tubular or steel pool, that’s impossible: if you choose the wrong spot, you’ll have to take it apart and start from scratch.
What tools do I need to set up a portable pool quickly and safely?
None. Drop Stitch portable pools can be set up without tools: there are no tubes, screws, or metal frames to assemble. Every Helyora pool comes with a manual inflation pump and a PVC repair kit. The only recommended item—though optional—is a protective tarp for the base.
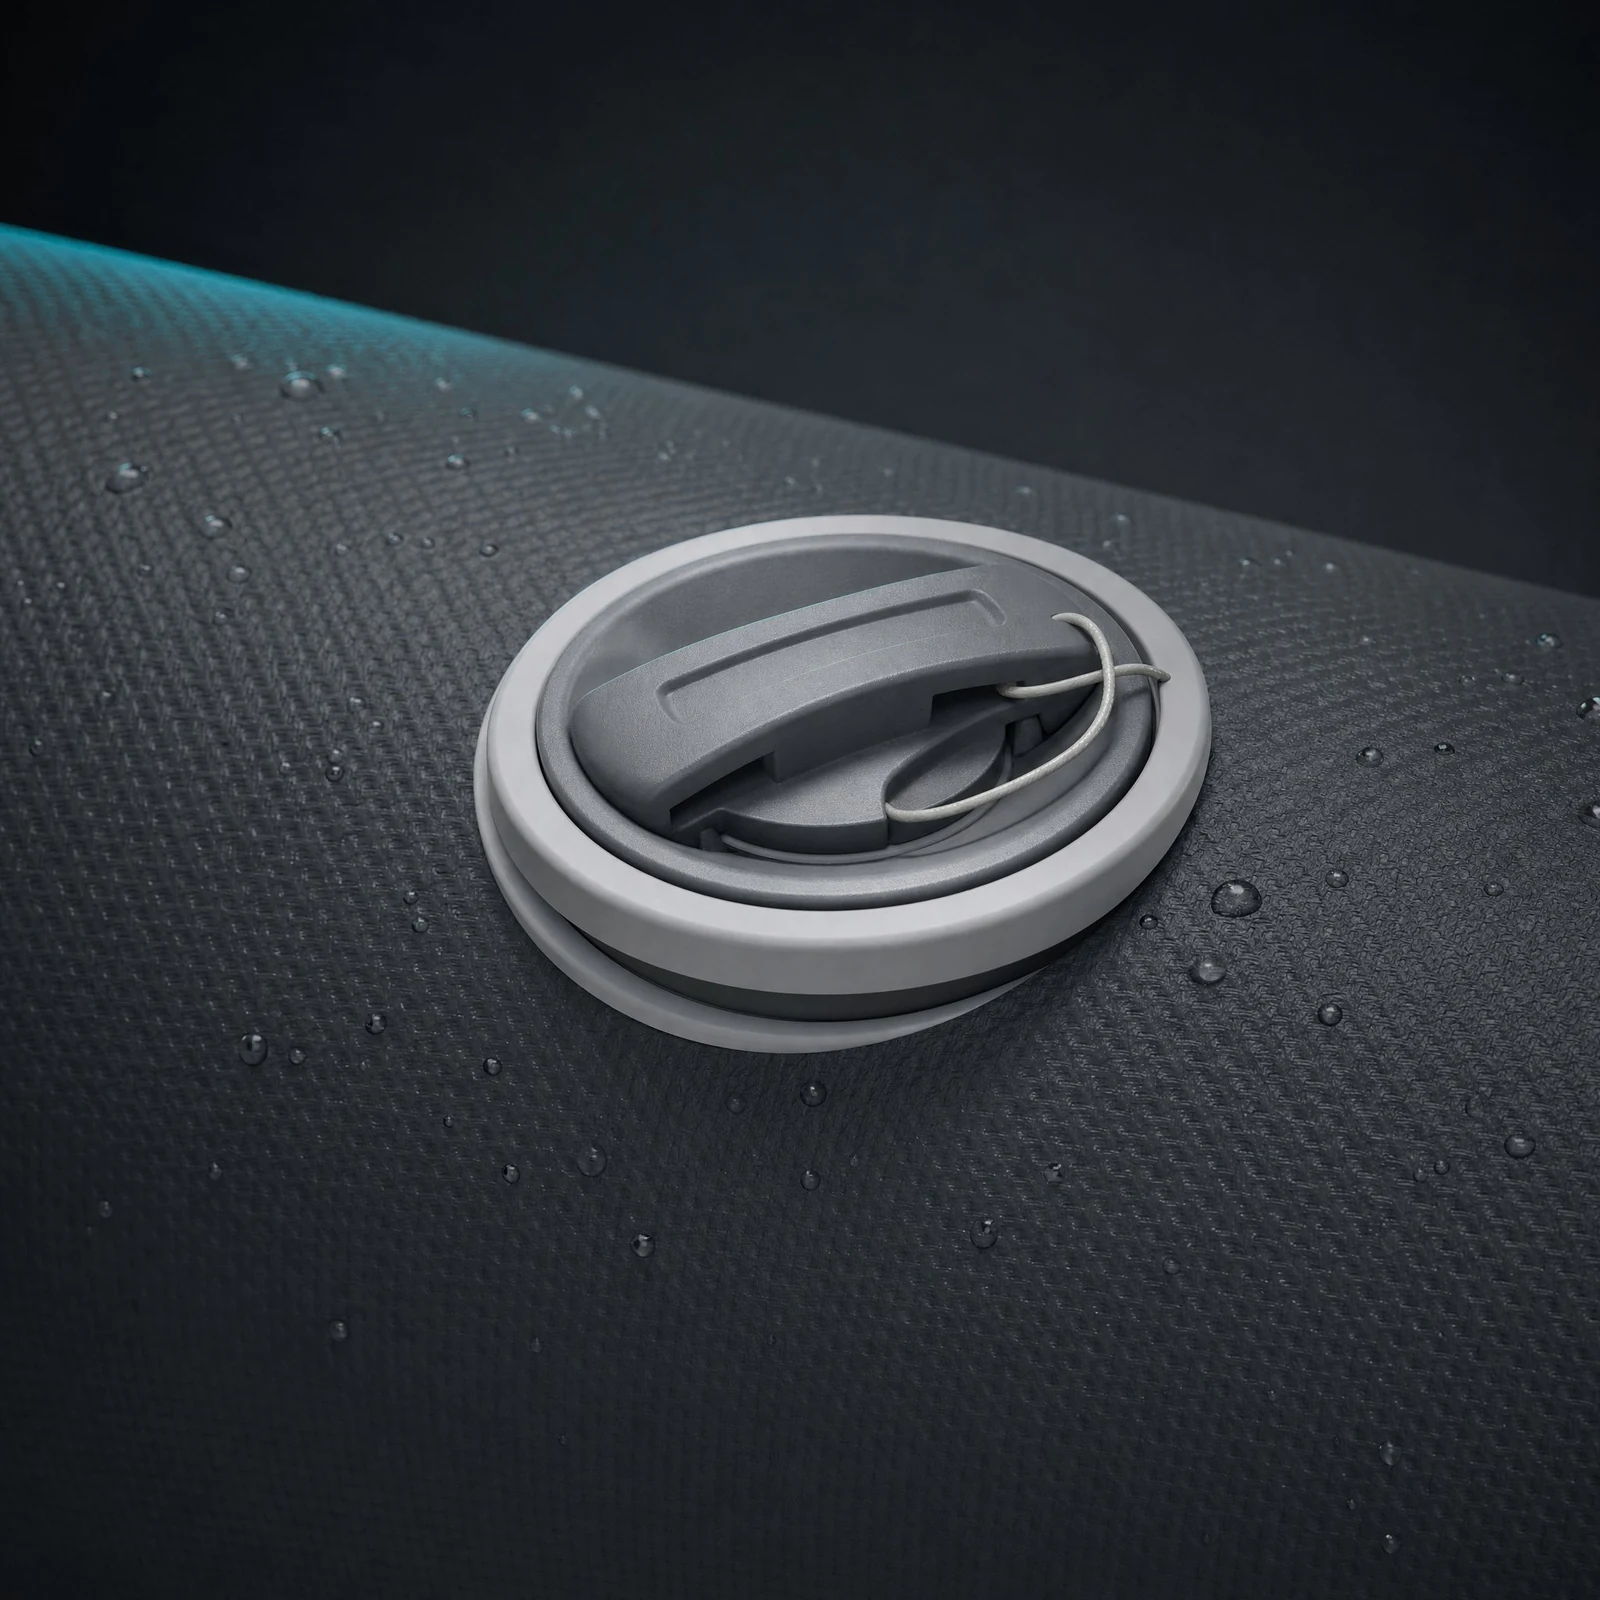
The backflow prevention valves in the seal AerVault™ They have a secure seal: you plug in the pump, inflate them, and when you unplug it, no air escapes. That's all the «technical setup» you'll need to do.
How do you level the ground properly before setting up a portable pool to avoid problems?
The rule of thumb: the difference in height shouldn't exceed 2 cm between the two ends. An uneven floor causes water to pool more on one side of the wall, making the water level appear crooked. The water itself provides the definitive test: as you fill the first 5–10 cm, you’ll see immediately whether the water level is parallel to the edge.
- On grass: Remove stones, branches, and shallow roots; if there are any holes, fill them with compacted sand.
- On a terrace or concrete: It's usually already level; clean it thoroughly and check that there are no bumps or gravel.
- Never Support the pool on only one side (using boards or wedges): the base must rest evenly on its entire surface.
If you have questions about which surfaces are acceptable, check out our Frequently Asked Questions We'll go over all the compatible options.
How many people does it take to set up a large, easy-to-assemble above-ground pool?
One person can set up any Helyora pool on their own, including the large ones. Since there is no metal frame, the process is as simple as unfolding, inflating, and filling the pool. That said, for the larger sizes in the line rectangular (400×300, 500×300, or 600×300 cm) A second person helps unfold and align the base more quickly: with two people, these models are set up in the same 20 minutes as the smaller ones.
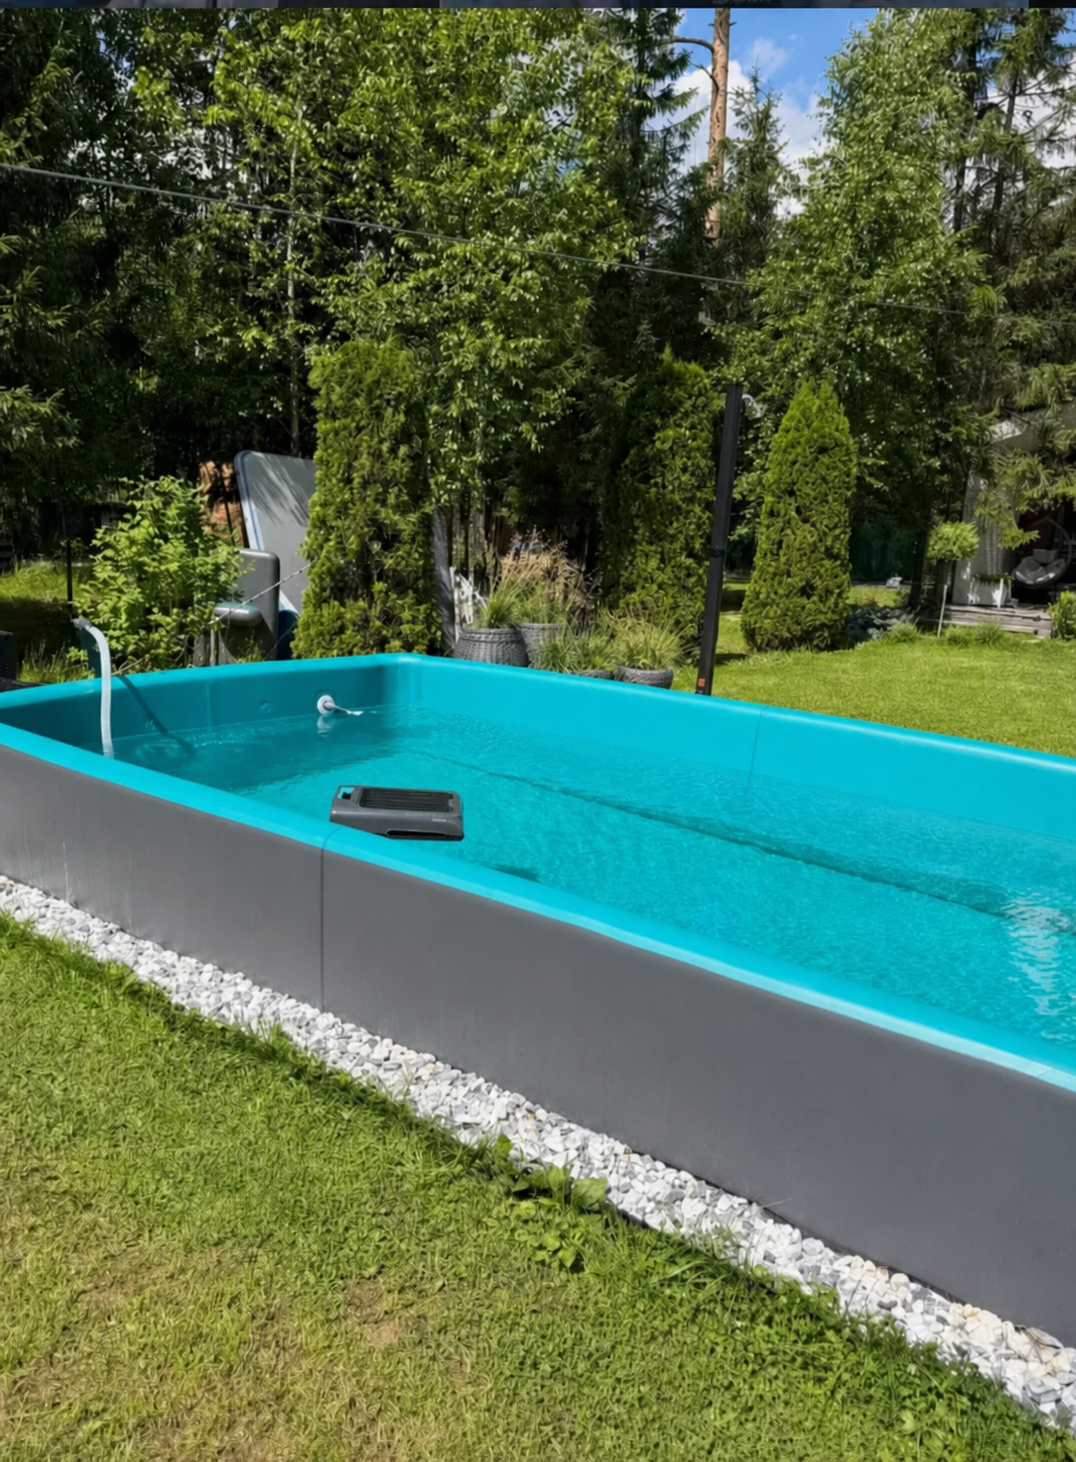
What are the most common mistakes when setting up an above-ground pool, and how can you avoid them?
These are the issues that generate the most support requests for us, all of which are preventable:
- Fill without checking the level. Fill it to just 5–10 cm; check to see if the water is level with the edge, and only then continue. Draining a full pool to reposition it is the worst possible summer afternoon.
- Underinflate. A partially inflated wall will sag under the pressure of the water. Inflate it until the wall feels stiff (at least 10 PSI).
- To be under too much pressure. More than 20 PSI doesn't make the wall any better: stick to the 10–20 PSI range.
- Do not protect the base. A small stone under the weight of the water can scratch the PVC. The bottom liner is inexpensive and saves you a lot of trouble (and even so, the 0.7 mm PVC is very durable, and a repair kit is included).
- Install on a soft or uneven surface. Loose sand, gravel, or freshly turned soil settle under their own weight and cause the pool to become uneven within days.
- Keep it moist when removing it. At the end of the season, dry it thoroughly before folding it into its bag.
One final note on maintenance: Check the pressure of the wall after the first 24 hours (the air settles as the temperature changes) and top it off with a few pumps if it drops below 10 PSI. From then on, the wall will stay firm all season long.
Ready: Water in 20 minutes, no construction, and no permits required
That's the difference between a rigid, collapsible pool and an in-ground pool (which takes months and requires permits) or a tubular pool (which takes an entire afternoon to assemble): the technology D-Stitch™ It makes the pool stand on its own, so all you have to do is set it up, inflate it, and enjoy. If you're still deciding on the type of pool, here's a comparison Rigid vs. Conventional Inflatable, and here you go the entire Helyora collection with their dimensions and depths.
Consulta también la comparativa técnica de los 12 modelos Helyora (medidas, litros de agua, peso una vez llena, tiempo de montaje y precio).
2 Responses